Max
Casey
Dante
Justin
https://www.youtube.com/watch?v=uE1tqMUd4R8
Alex
Max
Casey
Dante
Justin
https://www.youtube.com/watch?v=uE1tqMUd4R8
Alex
Safety First
All film equipment needs to be handled safely, but this is especially important when it comes to lights, since you are dealing with electricity and heat. Here are a few tips for handling lights and lighting equipment.
Types of Lights
Here are the different kinds of lights that you have access to in the F/MS collection.
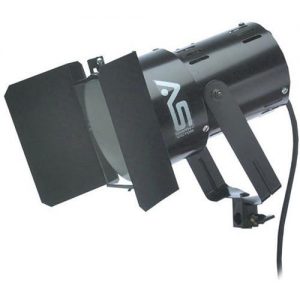
This is probably the simplest light design – it’s just a bulb in a housing. You can use barn doors to manipulate the light, but you can’t adjust the throw, color temperature, or even the brightness. The light produced is sharp and direct – good for creating dramatic shadows. This light will get hot, use gloves.
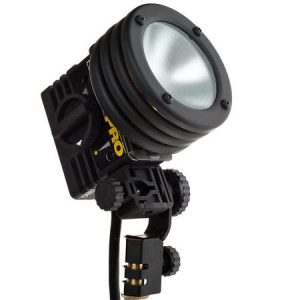
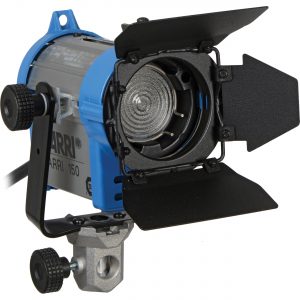
Fresnel lights (the “s” is silent) have a special lens in front of the bulb that allow them to be adjusted from flood to spot. This makes them very flexible – we have lots of fresnel lights in the equipment collection, because they are so versatile. The tungsten fresnels will get hot during use, so use gloves.
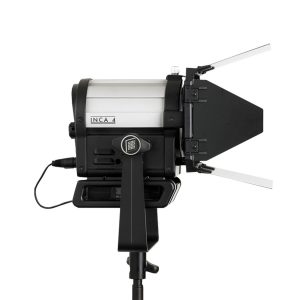
The LED-based fresnel lights in the collection offer the same versatility as the tungsten lights, but they don’t become hot during use. The Inca 4 has a fixed color temperature that should match the tungsten lights, while the much larger Arri L7-C has adjustable color temperature. Both lights can be controlled remotely via DMX.
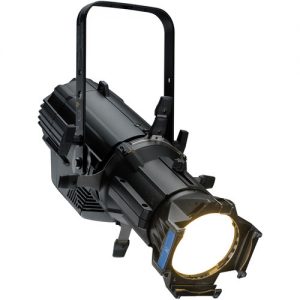
This powerful LED light has a fixed throw of 26 degrees. Lights like these are often used in theatrical productions and can be controlled directly or remotely via DMX. Because it uses LEDs, the light does not become hot during use.
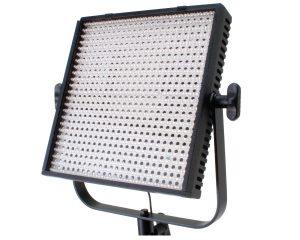
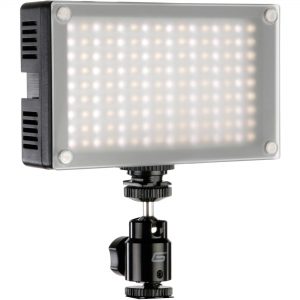
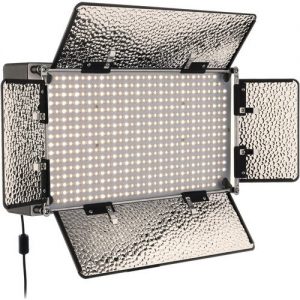
LED panels don’t generally produce as much light output as fresnels or spotlights, but the light they produce is flattering and diffuse. These lights can be battery-powered, which makes them a good choice when portability is important. The larger Lite Panels 1×1 and Genaray SpectroLED have a fixed color temperature – daylight, or 5600K – while the smaller Genaray 7100T can be adjusted. These lights can be handled without gloves.
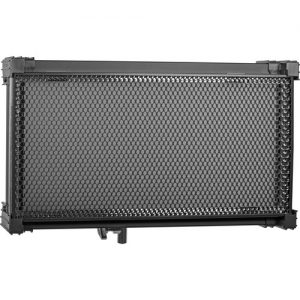
The Kino Flo Celeb is a large, high-quality LED panel with variable color temperature. It produces even, flattering light. At roughly 24 by 14 inches, the Celeb is much larger and heavier than the LED panels made by Genaray or Lite Panels. The Celeb requires external power and can be controlled via DMX. There are also preset controls on the unit itself. This light can be handled without gloves.
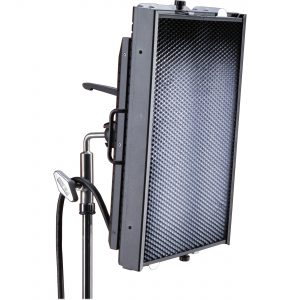
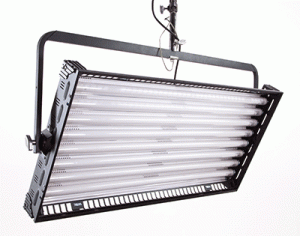
The Kino Flo Barfly and Image 45 are both large fluorescent panels that produce a high output of soft, even light. The size and weight of these lights make transportation challenging, although the Barfly can be loaded into a hard-sided case. If you need to fill a large space with light, these are good options. These light fixtures can generally be handled without gloves, although the bulbs themselves should not be.
Other Equipment
A reflector (or “bounce”) can be used to reflect, diffuse, or block light. Different covers can be put onto the reflector for different effects – generally, white, silver, and gold. Folding reflectors can be a challenge and there are different methods. You can “make a taco,” for example; I prefer to just twist my hands in opposite directions. Give it some practice.
A gel is a piece of colored plastic used to tint a light. When using a gel with a light that becomes hot during use, be sure to keep some distance between the gel and the bulb.
A scrim is a semi-opaque cloth used to diffuse light. It is usually white or black.
A cookie is a small plane that a light shines through, creating a distinct pattern. These can be anything from leaves to window blinds. A gobo is similar to a cookie, but it doesn’t create a distinct pattern – it is simply a plane that is placed between a light and the set to block some of the light’s output.
The Kubrick Effect
Here are a couple of videos that examine the brilliant lighting techniques and cinematography utilized by Stanley Kubrick. The first looks at Kubrick’s use of practical lights and the second delves into his 1975 classic Barry Lyndon.
Welcome!
Welcome to the Spring 2018 session of the Film/Media Studies Production Practicum. This semester’s topic delves into two areas that are crucial to film and video production: lighting and color grading. I’ve chosen to pair these two topics together because they parallel each other in different stages of the production process. Lighting affects the way footage is captured during filming, using a combination of on-set equipment and camera settings; color grading affects the way existing footage is processed during post-production, using either editing software or a dedicated color grading program.
Taken together, lighting and color grading contribute enormously to the overall look of a film. Beyond aesthetic preferences, they can imbue a piece with specific emotions, highlight themes, set moods, serve narrative functions, and much more. While lens choice, camera angle, and shot composition often work in obvious ways, lighting and color grading can work more subtly. When used thoughtfully, they are invaluable artistic tools.
This semester, we’ll spend the first half of the term on lighting: using various techniques and pieces of equipment to shape the look of the footage we capture. We’ll spend the second half of the term manipulating that footage using post-production software such as Premiere Pro and SpeedGrade. By the end of the semester, you should have a powerful collection of cinematic techniques at your disposal – whether you are behind the camera, behind a computer, or both.
Color Temperature
We’re going to be using a few terms quite frequently throughout the semester, so it’s important that we define some things right from the start. One of the most important things that we’re going to be talking about is color temperature.
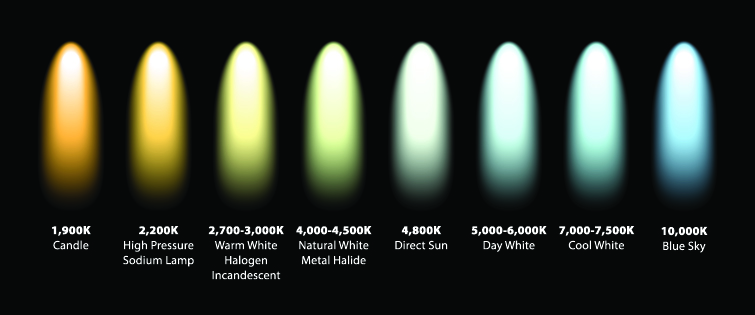
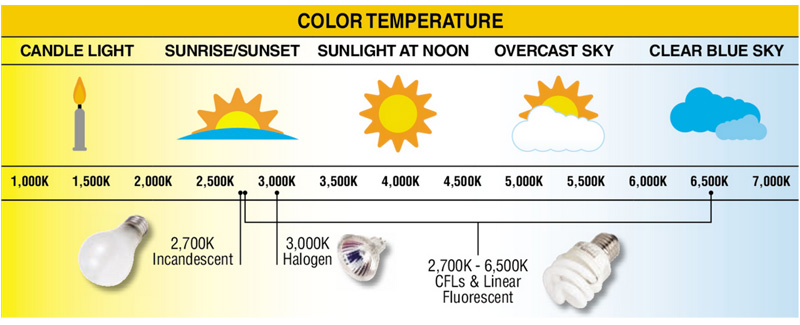
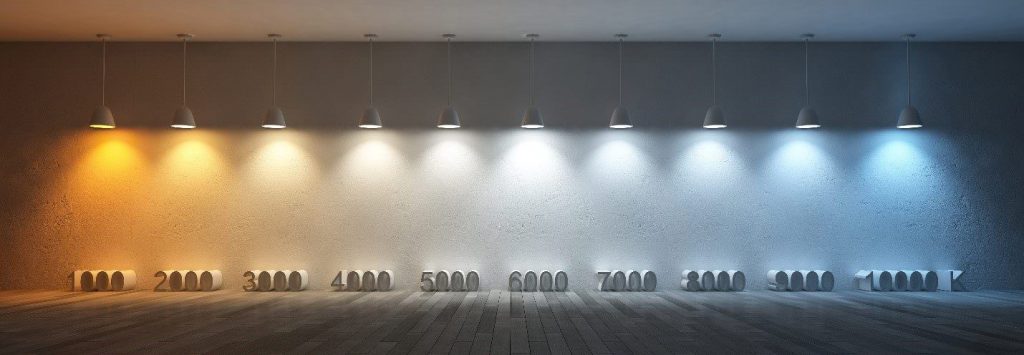
Put very simply, color temperature is a measure of how “warm” or “cool” a light is, measured in kelvin (K). If you want to really dig into the science behind color temperature, it has to do with the temperature of black-body radiators and lots of complex equations are involved. For a relatively concise and clear summary, check out this excellent video from Filmmaker IQ.
You don’t really need to understand the Newtonian physics of light or Planck’s Law to understand color temperature (although it certainly couldn’t hurt). All you really need to know is that “white” light actually always has a tint to it and that tint is measured in kelvin. Low kelvin light is very orange – candlelight is around 1000K. High kelvin light is very blue – the light from a blue sky on a clear day is around 10,000K.
Different charts will give slightly different values for various light sources, but the general idea is the same across the board.
White Balance
If all white light is actually tinted blue or orange, why don’t we experience the world in those hues? Your brain is actually very good and making adjustments for different color temperatures automatically. For example, if you are in a room lit by incandescent bulbs (which have a yellow cast) and then go outside on a bright, overcast day (which has a blue cast), your eyes will quickly adjust to the changing color temperatures. You probably won’t notice the transition; your brain quickly and automatically compensates.
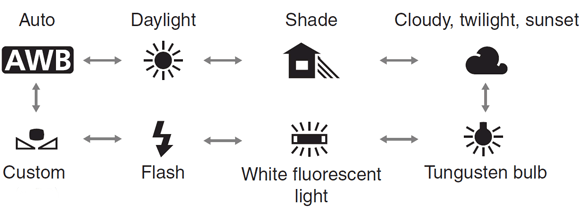
While our brains can go through this process automatically, cameras rely on specific settings. The kelvin value that a camera considers white is called its white balance. If you are using a camera indoors with incandescent lighting, you might set the white balance to 3200K. If you are filming outdoors, you might set the white balance to 5600K.
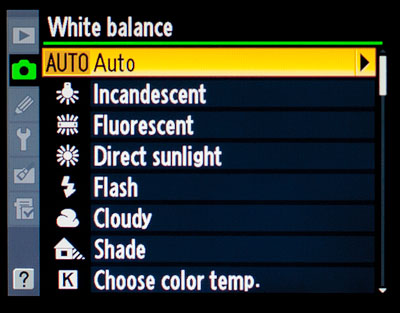
Obviously, the specifics of setting white balance vary from camera to camera. Most cameras have preset options such as “direct sunlight,” “cloudy,” and “incandescent.” This can be a great place to start, if you want to dial in your white balance quickly. Some cameras include the option to manually set the specific color temperature (in kelvin), which is a more precise option. If you can take the time to set the temperature yourself, that’s generally the best way to do it.
Some cameras allow you to use a white or grey source to set white balance. You can hold a card or piece of paper centered in front of the lens and tell the camera to use that particular shade for “true” white; the camera will adjust things accordingly. This is a good option because it allows you to dial in a setting that is unique to your shooting situation without trying to figure out the kelvin value.
https://youtu.be/48c02L_nHZc
Watts, Lumens, and Lux
We can use degrees kelvin to describe the color of light, but how do we describe how muchlight there is? In other words, how do we measure brightness? This gets a little more complicated, because there are different ways of thinking about brightness. Are you measuring how much light is being produced at the source of the light itself, or a certain distance away, or how much is shining on a surface? Because light can be considered in so many different contexts, there are a number of different ways of quantifying it.
When you buy a lightbulb, you probably look at its wattage to determine how bright it will be; for example, a 100 watt bulb is brighter than a 40 watt bulb. However, wattage is a measure of energy, not brightness. Furthermore, as low-energy LEDs have replaced incandescent bulbs, the relationship between wattage and brightness has changed.
The amount of light being emitted by a source is actually measured in lumens. A lumen measures the amount of photons being emitted through a conical area of 3D space. You will often see watts and lumens used together to describe a light source’s efficiency, or “luminous efficacy.” The higher the lumens per watt (LPW), the more efficient the bulb will be.
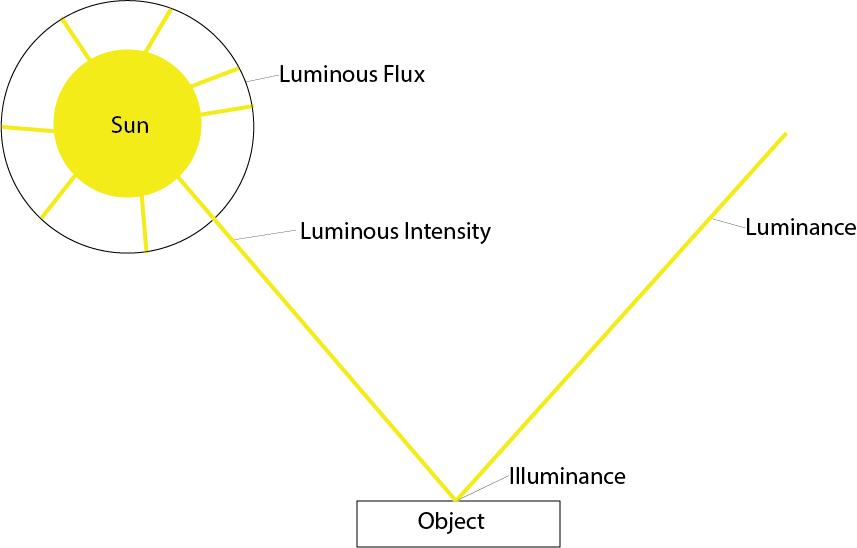
However, for the purposes of getting correct photographic exposure, we use a third unit: lux. Lux measures the amount of lumens in a square meter; this can also be referred to as illuminance. Lux measures the amount of light on the surface being illuminated, rather than at the source of the light – this is what makes it useful for cinematic purposes.
To illustrate, the light in an average office will fall between 300 and 500 lux. Brighter studio lighting could be around 1000 lux. The hour around sunset is around 400 lux and a full moon on a clear night will provide less than a third of one lux.
You may sometimes see illuminance measured in foot-candles, which uses square feet instead of meters. One foot-candle is roughly equal to ten lux. Screens and monitors also have brightness ratings, but since these aren’t meant to illuminate (only to be seen), a different unit is used: the nit. A normal HD television may range between 500 and 1000 nits.
We’ll be primarily using lux to measure light in this class, since that is the unit that will help us help us capture properly exposed footage. If you’d like to get deeper into the technical side of things, check out this article, which dives into the science and math behind measuring light.
Project 1: Light That Moves Us
Determining the color temperature and illuminance of a light allows us to describe its characteristics with scientific accuracy, but it can all start to feel a bit sterile. As cinematographers, we want to paint with light, not just describe its wavelength. We’ll build on what we discussed this week in the next lesson as we use light meters and other tools to get proper exposure. In the meantime, I’d like to see some examples of lighting that you find interesting.
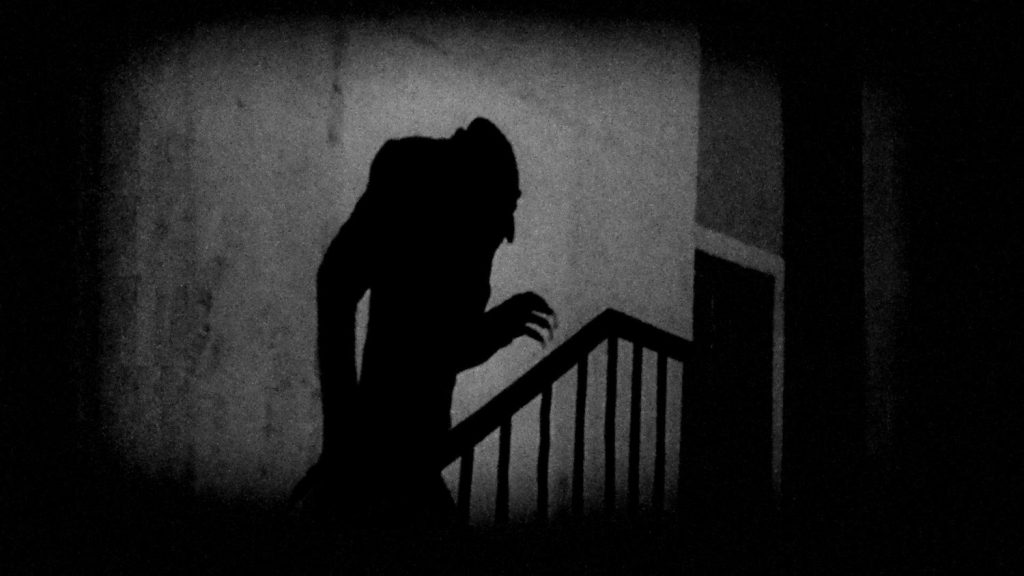
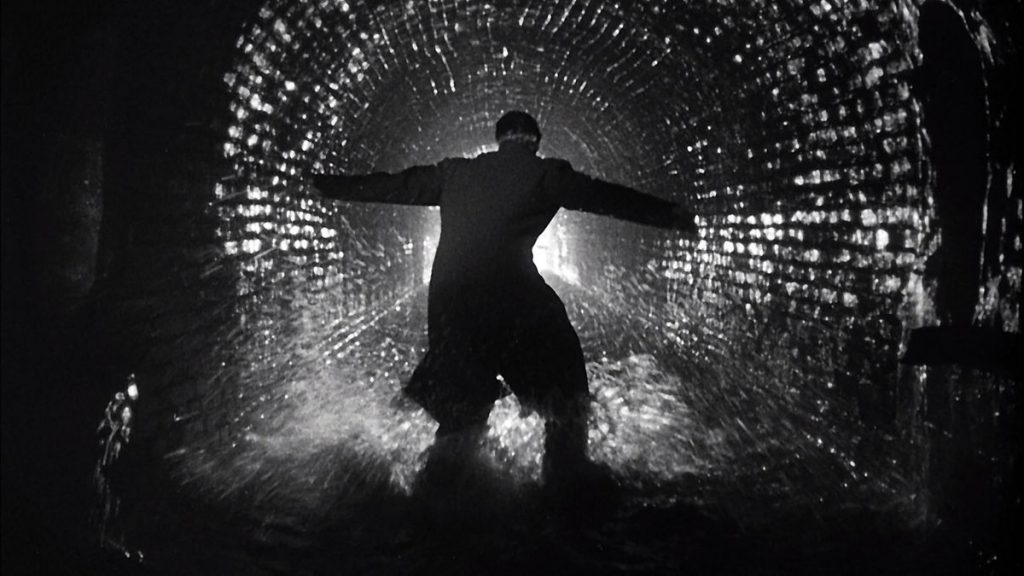
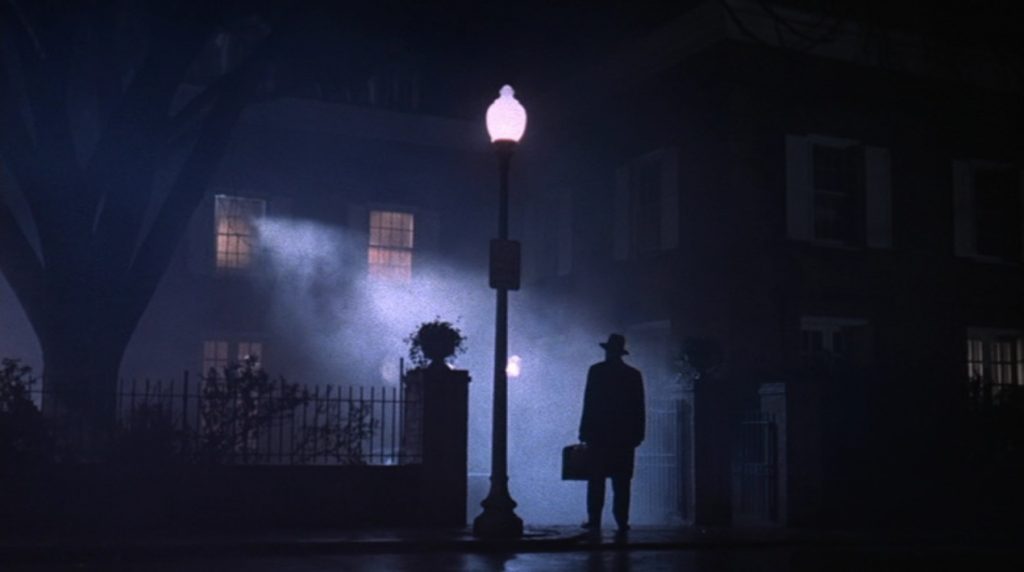
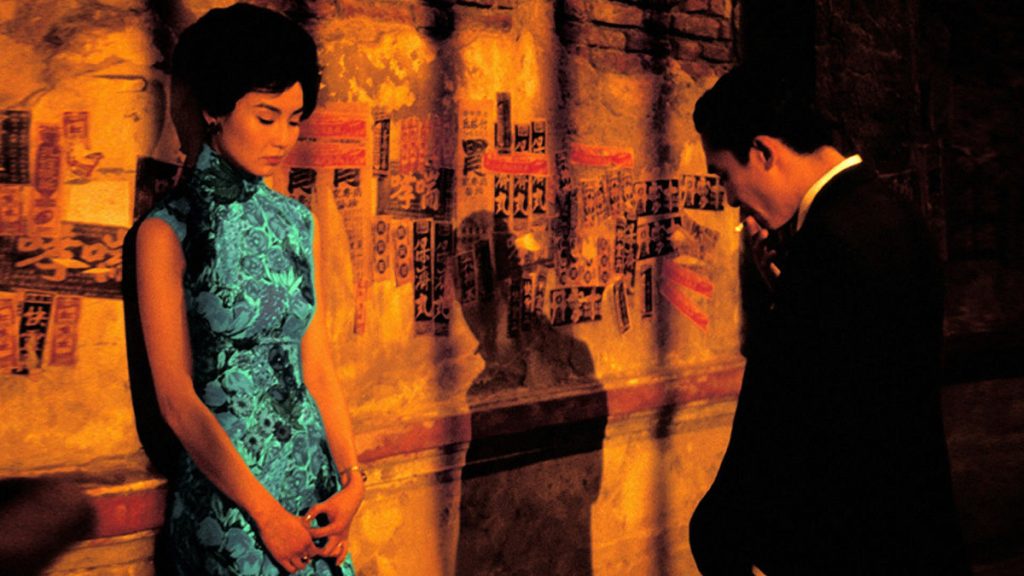
Drawing from movies, television, or short films, I’d like you to send me two examples of lighting that grabs your attention. Don’t worry about the technical aspects too much – instead, focus on the emotional or narrative effects of the lighting in the scene. Send me a still image (or a clip, if you can find one) and a short sentence or two about why you chose that particular shot.
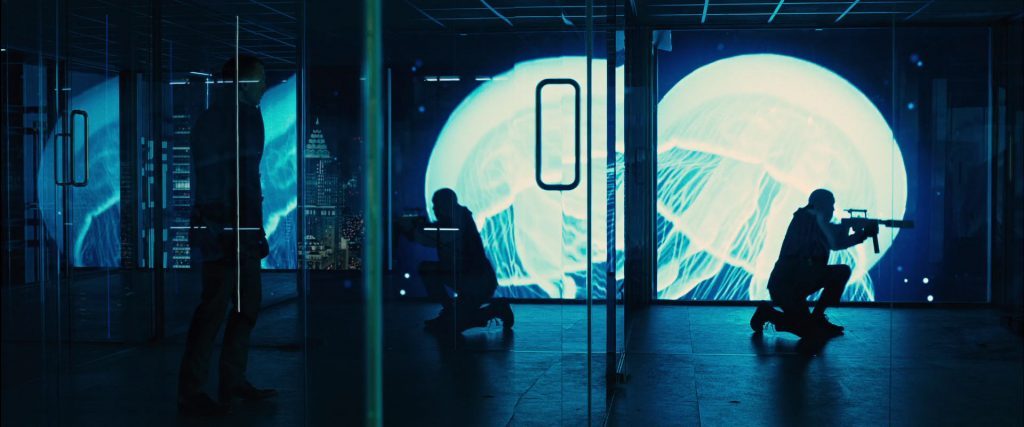
Here are a few of my favorites: Nosferatu, The Third Man, The Exorcist, In the Mood for Love, and Skyfall.
